How to Repot a Plant
#PLANTGOALS

How to Repot a Plant
When the time comes to move your plant from its nursery grow pot into its new planter, here's what you'll want handy in addition to your plant and planter:
Fresh potting mix.
Lava rocks or clay rocks, or rocks from outside if your planted does not have drainage holes.
Steps to repot:
1. Remove plant from nursery grow pot
Turn your new plant sideways, hold it gently by the stems or leaves, and tap the bottom of its grow pot until the plant slides out. You might need to give it a bit of help with a couple gentle tugs on the base of the stems. If it’s very secure, you can also cut through the plastic grow pot with a pair of scissors.
2. Loosen the roots
Now that you’ve removed the grow pot, loosen the plant’s roots gently with your hands. You can prune off any threadlike roots that are extra long, just make sure to leave the thicker roots at the base of the foliage. If your plant is root bound – the roots are growing in very tight circles around the base of the plant – unbind the roots as best you can and give them a trim.
3. Remove some potting mix
Remove about one third or more of the potting mix currently surrounding the plant. As it grew in its grow pot, your plant removed some of the nutrients in the current mix, so you'll want to give it fresh mix if you're potting it anyway!
4. Add new potting mix
Pour a layer of fresh potting soil into the plant’s new planter and pack it down, removing any air pockets. If your planter does not have a drainage hole, layer the bottom with lava rocks or similar before adding the potting mix to create crevices for the extra water to pool into.
5. Add your plant
Set your plant that you removed from the grow pot on top of the fresh layer of mix in the new planter, making sure it's centered, then add potting mix around the plant until it is secure. Be sure not to pack too much soil into the planter, as you want the roots to breathe.
6. Water and enjoy
Even out the potting soil on top, water well, and enjoy!
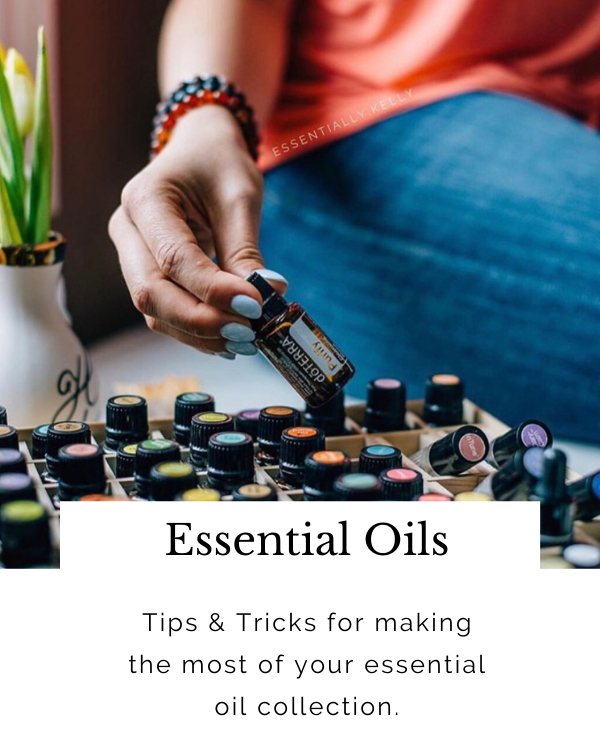
Our labels are waterproof and stick on your bottles really well using a double coated laminate. We have sizes to fit perfectly on 5ml and 10ml roller bottles, 16oz spray bottles, sample drams and DIY containers. They can easily be trimmed with a pair of scissors.
Be sure to join our email list so you get all our tips + tricks sent to your inbox! JOIN OUR EMAIL
Best of luck on the journey to green up your home!

20 Perfume Recipes
Start making beautiful essential oil blends


Hey! I’m Christine
I help essential oil lovers like you find ways to get the most out of their oils.
I also empower women growing an essential oil business with inspiration. education and resources.