5 Tips for Shooting Instagram Photos with Your Iphone
FOR ENTREPRENEURS
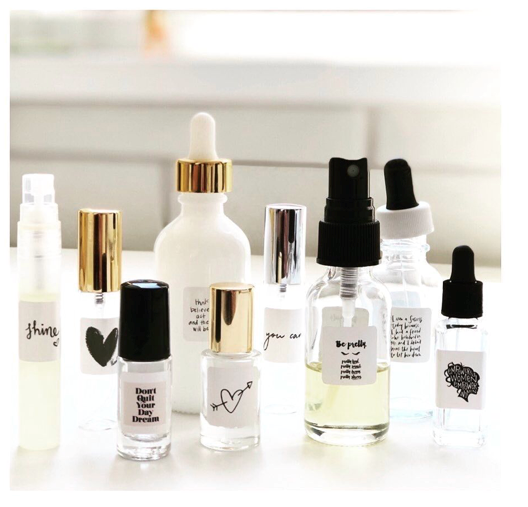
I remember asking myself: How does she get her photos to be so white and crisp? There seem to be no murky shadows and weird lighting. How do all her photos look like they were taken on the same day, in the same light, with a professional look?
Sound familiar? Yup. I’ve been there. I remember wondering what her tricks were. How could my photos look like that. The secret? A few simple tricks and consistency. This helps to craft your brand identity and once you get in flow, it’s really quite simple.
After posting on Instagram 1-4 times a day for the past 18 months, I’ve figured out 5 simple tips I use when taking photos on my phone.
Ready to learn? Let’s go!
FIND THE LIGHT:
Natural light is best. The more you have of it, the better your image will be. This doesn’t mean direct sunlight as this creates shadows, but mid-daylight is the optimal time to take your photos.
Does this mean you cannot take photos inside? Of course not! Most of my shoots happen on my dining table or kitchen island and both are situated beside a large window letting in tones of natural light. At noon on my dining room table next to a huge window on a piece of white foam core or poster board is where the magic happens.
POSITIONING:
Have you ever tried to take a flat lay photo (taking a photo straight down with your camera above the product) and keep getting blocked by a dark shadow?
If you are taking a photo inside, ensure you are next to a large window and position the window to be beside you. This will prevent any shadows creeping in.
If you are taking a portrait outside, ensure the sun is behind your subject. This prevents the person from squinting and having a dark shadow across their face. You can always adjust the brightness of your photo later if needed. Photos taken on an overcast day are ideal as this is the best lighting with limited chance for shadows.
RULE OF THIRDS:
For interesting, well-balanced photos this is the key. Your main subject needs to situate in 2/3 of the photo (to the left/right/top or bottom). The other 1/3 will allow for some background imagery to help set the context for your photo. This also allows for plenty or white space, or room for text and logos.
BE MINDFUL OF THE SQUARE CROP:
If you are shooting for Instagram you will be very familiar with the squares…am I right?
Since Instagram’s grid is in squares it will automatically crop your photo that way when you post it. It may be easier for you to take your original photo in the square aspect format. You can do this by opening the camera app, swiping across the bottom to the square. You can also adjust your photo afterwards in any photo editor. We love the app “Rhonna Designs”.
ACHIEVING A WHITE BACKGROUND:
If you have seen our Instagram feed you know we LOVE a white background! It takes practice and a few apps to achieve this but this is how we do it…
Take your photo on a white background. We use a piece of white foam core. Ensure you are in really bright daylight or using a photo box. I often tap the phone screen and turn up the brightness before I take the photo.
You can amp up the brightness or change the filter in photos right on your phone. Or adjust the lighting in an editing app such as “Rhonna Designs”.
In Rhonna Designs I choose the square aspect, then filters all the way to the last filter. Adjust the filter strength to your liking then save.
Another trick is to upload the photo to your Instagram. I choose the filter “Juno” for all of my posts (it is important to keep your brand consistent). Sometimes I screen shot my photo if I am not uploading to Instagram because I love this filter for my brand and will use the photos for the website, Facebook or print materials!
And that’s it! As you start using this technique over and over you will get much faster, efficient and you will start to see your look develop. It takes patience but it is well worth it!
20 Perfume Recipes
Start making beautiful essential oil blends


